See Part 1 - Shapes
Continuing our Appliqué tutorial!
When I have stems to make for any applique piece, I use Clover's bias tape makers. They take the mess out of the process, and I actually like making it!
What you'll need to get started:
A dry iron
Best Press
Clover Bias Tape Maker in whatever size you want to make
(The 3/8" size is made for use with fusible web, but is used in basically the same way, with or without the fusible web.)
Straight pin
Fabric of choice
Flour sack dish towel to cover your pressing surface
This is what the bias tape maker looks like:
Side
Large end for feeding the fabric
Small end where the bias exits
Step 1:
On the bias of your fabric, cut strips twice the size of the bias tape
you want to make.
I made 1/4" in this example, so I cut the fabric 1/2" wide
Step 2:
Spray the fabric with Best Press. It should be wet but you don't want puddles!
Step 3:
Start feeding the fabric into the large end of the bias tape maker, wrong side up.
Step 4:
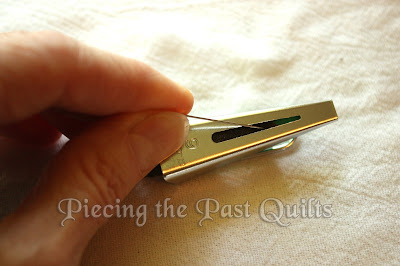
Turn the bias tape maker over. You'll see the end of the fabric
in the little window.
Take your straight pin and push the fabric toward the small end
until it exits the tube.
It will look like this:
Step 5:
Turn the bias tape maker over again and let it sit flat
on your covered ironing surface.
Place the tip of your dry iron against the small end
of the bias tape maker as shown.
Hold the handle with your left hand and then push the iron to the left.
The bias tape maker will glide over the pressing surface
feeding the bias fabric as it goes.
Guide the bias tape maker, keeping the fabric feeding straight,
as you push the iron.
Just keep going until you reach the end of your bias strip.
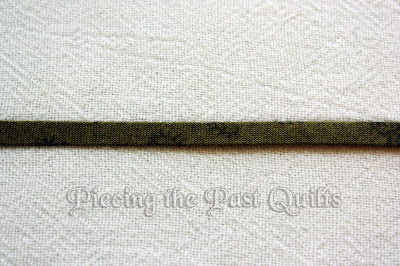
This is what it will look like, wrong and right sides.
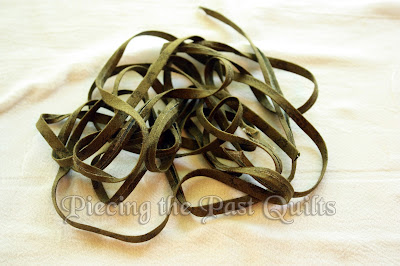
Voila! A beautiful pile of vines or stems!
This concludes Part 2 of "Perfect" Applique - Bias Binding, The Tutorial
Look for Part 3 soon.
Happy Quilting!!
This post was first seen on the "Piecing the Past Quilts" Blog.


What a nifty gadget that is!!
ReplyDeleteAll your tutorials are very helpful, so easy to understand and follow. Thanks for taking the time to do this.
ReplyDeleteThanks for the feedback, Deborah! You're welcome. :-)
Delete